Tuesday, February 24, 2015

Thrift Store Cake Stand

As many of you probably know I'm a baker by trade but I currently own no cake stands with which to display my cakes. This week I've decided to remedy this blatant error in my serving dish selection. Store bought cake stands can be expensive or cheap and flimsy, but Pintrest is filled with these 'take thrift store dishes and make stands' ideas and they seem really simple. I decided to create two pieces, one is going to be a simple cake stand of a flat dish on a low base which I intend to be all gold at the end of this, and the other will be a 3 tiered cupcake/cake stand with a flat bottom flat on the table with two glasses with plates on top of each.
My first step was going to the thrift store, located a convenient 7 minute walk from my house. I selected 4 plates of varying sizes including a large microwave plate for the bottom tier, and 3 glasses which I found these two spindly ones that I like the shape of the cup but they may be too delicate.
I also stopped buy the store to pick up some heavy duty glue and spray paint. I already had black and gold spray paint that wouldn't be perfect for this but they would work well enough. I picked up a can of spray paint that I hope will adhere to the smooth glass surfaces and give them a little texture for my other paints to grip.


 Step 2 was cleaning the dishes since they were from a thrift store and probably dusty and dirty. The simple cake stand is going to be all gold so I glue the pieces together before spray painting.


The other cake stand was going to be gold and black so I left the pieces separate for painting. I started by painting everything with my frosted glass coating that at first I wasn't sure was working but did give the pieces a little bit of texture.

Then I painted the simple cake stand gold and painting all the plates for the other stand gold and the cups black. I left no less then 30 minutes between coats and I only needed one coat on each side with some touch ups on rims and such.

Step 3 is gluing the tall cake stand together. I glued the glasses in the center of the bottom of the two smaller plates using the good old fashioned method of eye-balling it.


Once they were set I turned them over and set the taller of the two in the center of the big microwave plate marking the rim with pencil I turned it back over and carefully applied my super strong epoxy to the rim of the glass. I turned it up side down on the plate matching it up with my markings. Then I repeated the process for the next plate.


 I baked some cupcakes to show off my awesome new cake stands!!!


Friday, February 20, 2015

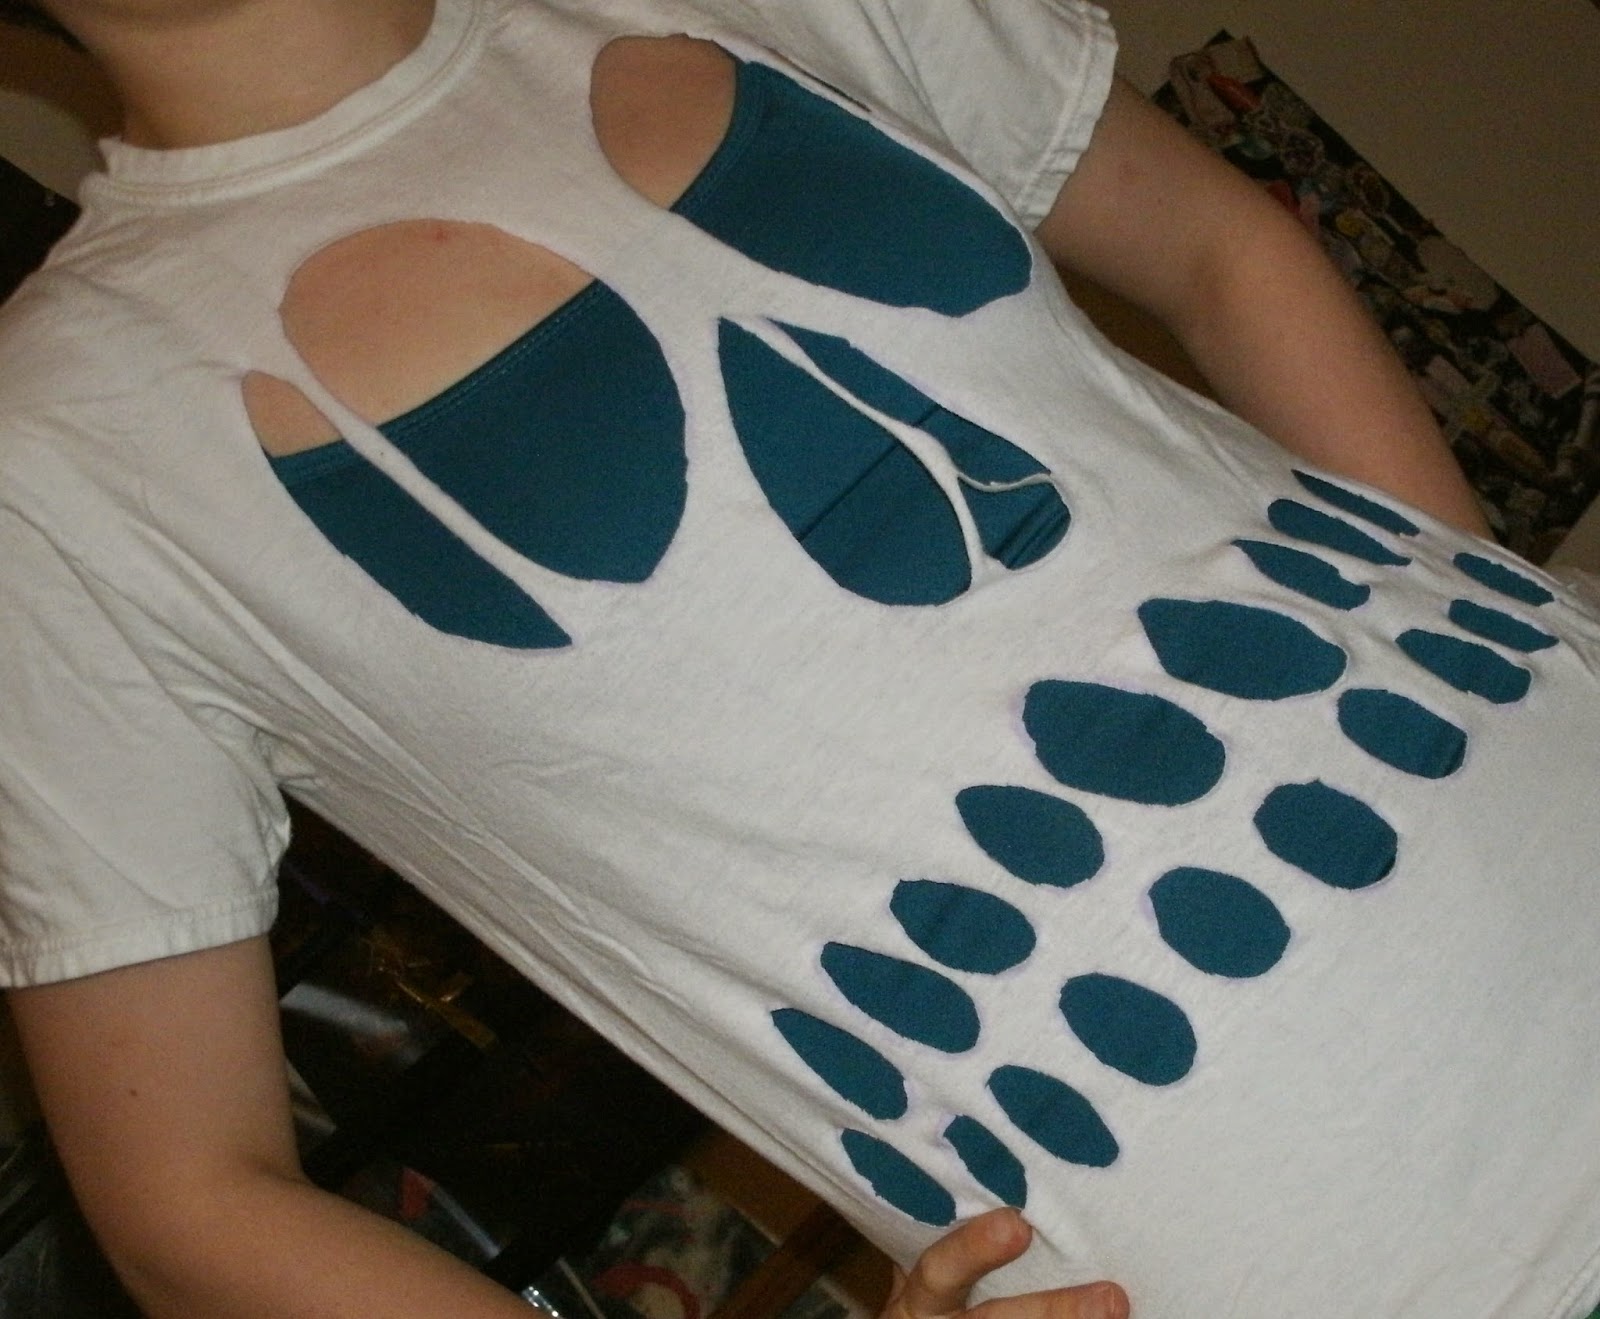
Skull Shirt

I really liked the look of the skull shirt and thought giving it a black backdrop would make it all the cooler. I also found a Pintrest site for taking the top off and running a zipper along the top. I thought this would be ultra cool and I have an abundance of zippers for some unknown reason so I found some shiny black fabric in my box and got to work. The first thing I did was lay the shirt out on the floor, I took my scissors and cut a straight line across the top making sure to cut as close to the collar as possible so I didn't get to close to the eye sockets. Then I laid the shirt on top of the black fabric and used it as a template to cut out the lining. The lining just needed to be turned shiny side in and then I pinned and used my serger to sew up one side. I turned the lining back right side out and pinned the top edges together starting at the center and working towards the shoulder seems. I then used my serger to go across the top giving the lining and the shirt a good strong bond to sew my zipper into.
I pulled out my large collection of random zippers and found one that went almost all the way across the top and it was black with metal tines. Then I needed another zipper that I could steal the zipper tie off of. I found one and cut off the end so I could pull off the tie. Now I needed to carefully cut open the zipper I wanted to use and put the new zipper tie onto it. This took a little doing and I recommend a second pair of hands if you can find them (I couldn't). I did my best to hand sew the zipper back the way to was but decided in the end to just sew it shut since it was never going to be opened all the way anyways. I zipped the two ties to the center and then pinned the zipper to the top of the shirt with the tabs facing the front of the shirt.


I pulled out my regular sewing machine to sew the zipper in, mostly because it has a special zipper foot which made the process much easier (once I remembered to use it). I flipped the shirt inside out and attached the zipper to the other side of the top to complete the garment.

I tried it on and found the arms to be a little tight and the inside moved around and made it hard to put on so I slit the bottom of the sleeves and sewed along the sides to attach the lining to the shirt better. I admit it's still not the most comfortable shirt and the sleeves are still too tight in the arm pits but I like the way it looks aesthetically.