I love making book-safes and I have made no less then 8 so far. I find them to be eternally useful and a cool decoration for anywhere. They're also super easy and cheap to make. I've made them for gifts to family, as unassuming safes for money (mostly just my foreign change), and this one I'm hoping to make as a keepsakes box for all the stuff I brought back from France.
I started by going to the thrift store and getting a book, any old book will do as long as it's hard cover and big enough to fit what you want to put inside. I first selected a book that, after reading the dust cover on, I couldn't cut into until I read so I had to select a different book that I had no interest in. I also needed some claps, I chose some plastic spring clamps but I've done this before using my parents C-clamps. Lastly you need glue and some foam brushes, I already had Mod Podge at home but Elmer's glue would have worked just as well.

I started by removing the dust cover and lightly gluing the last page of the book to the back cover. I did this for the last 5-10 pages and then flipped the book over. I usually like to leave the first few pages of the book loose for whatever reason, so after choosing which page I wanted to eventually cut into I left the few aside and clamped the corners of the rest of the book. I then went around with my glue and coated the outside of the pages. You might have to release the clamps and really press the glue in there depending on the book, just make sure it's good and coated. This is gonna have to sit and dry for awhile, I left mine for a couple of hours before removing the clamps. I also placed a pencil case under the feet of the clamps so they wouldn't make indentations in the pages, which I've had happen before.

Once the glue was dry, and I had a day at home, the next step is cutting out the safe. I started by drawing the dimensions on the contents page, using my ruler I marked 1in in from the edges and just far enough in to cut out all the words on the contents page. Then I took my exact-o knife and cut down into the book removing a few pages at a time. The key to this is patience, I work slowly cutting out just a couple pages at a time, making sure my corners are well cut and my edges straight.
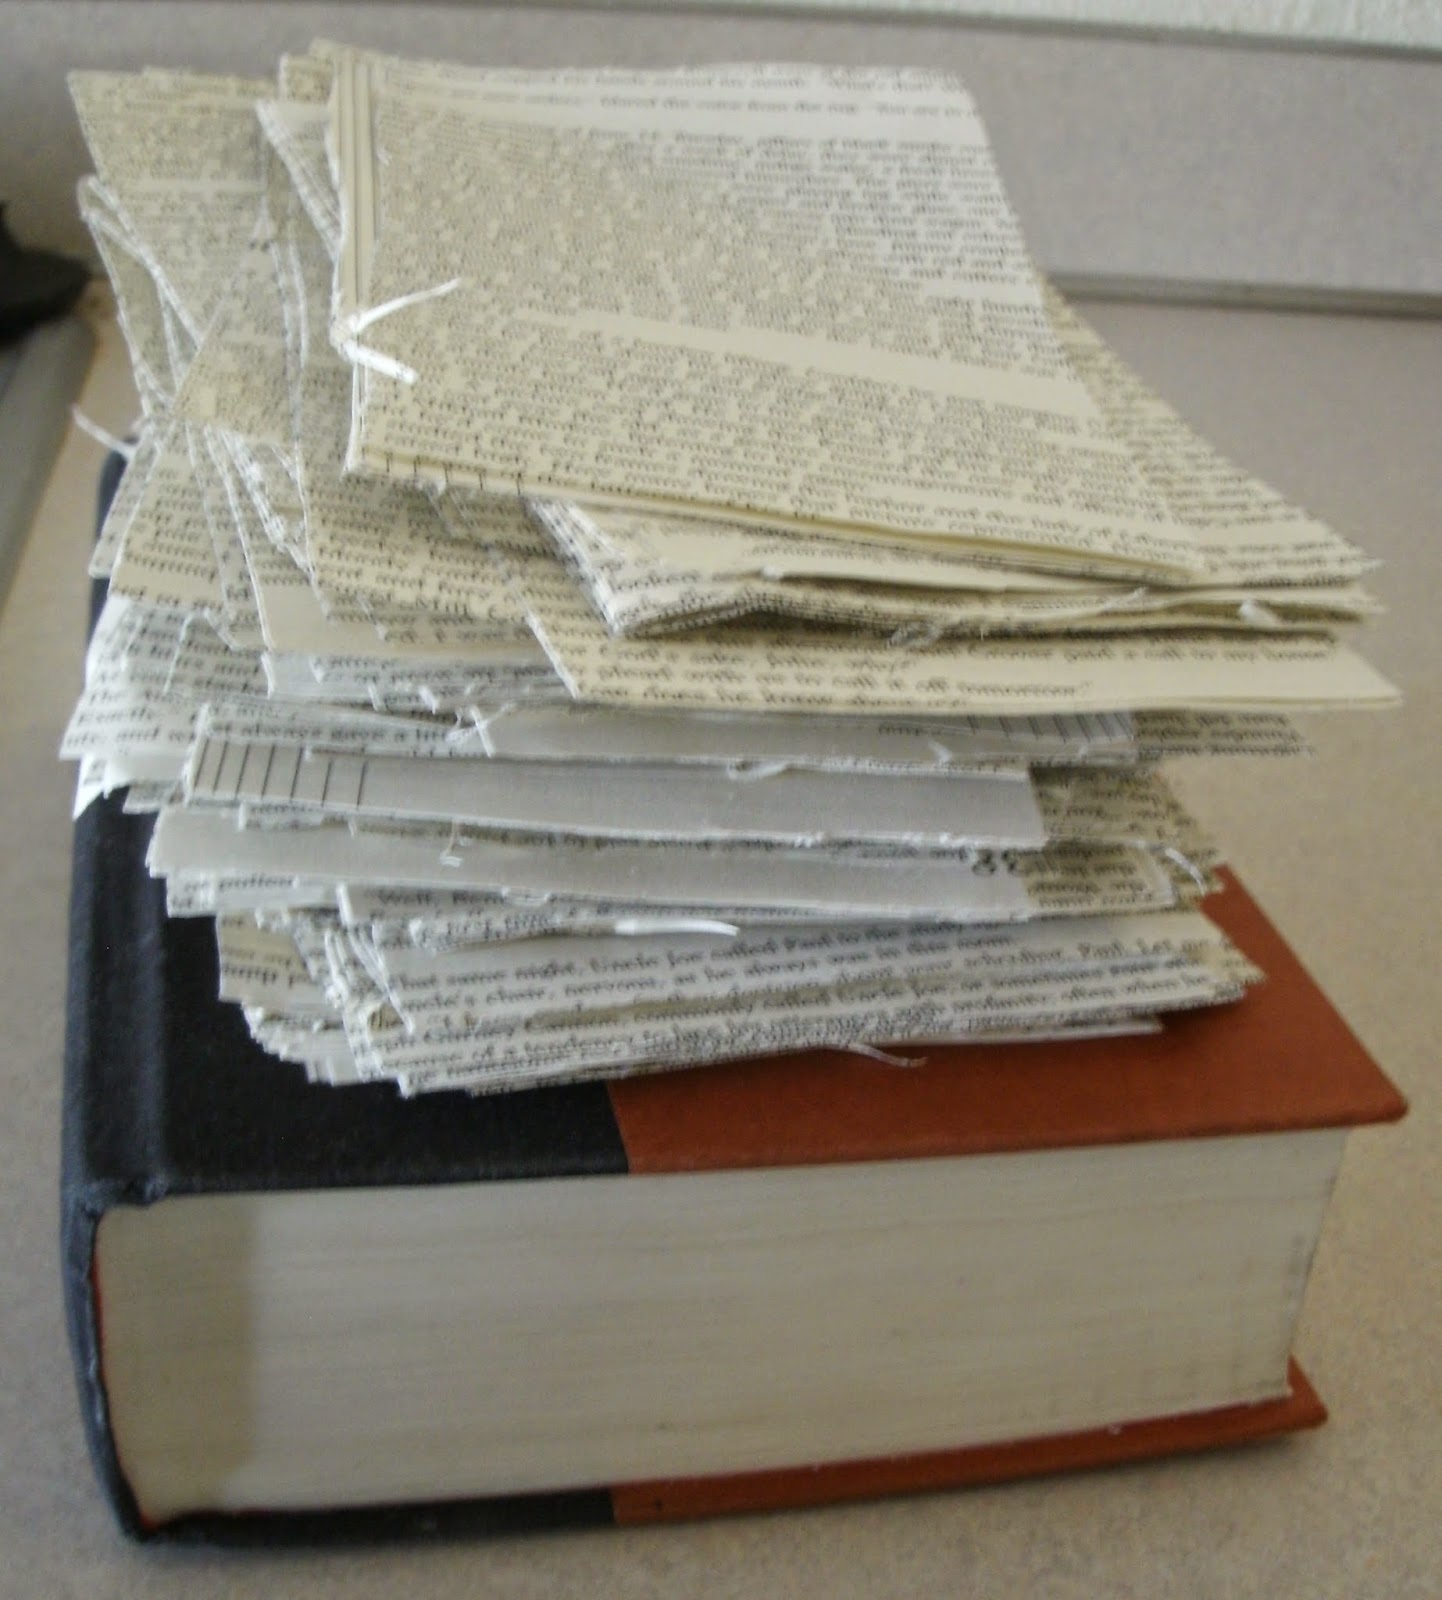
I did this over the course of two days as it does make my fingers really sore.


Now I need to glue the inside like I did the outside, I did this in two
parts, the back spine bit first and the front bit second allowing time
to dry in between. I have lined this inner cavity with fabric or felt before, it's pretty easy if you just lay the fabric in when the glue is sticky and cutting out the extra corner bits, but I'm not going to do that for this one since the edges turned out so straight and nice.
So my next step is decorating the cover. The look is really up to the creator and I've left them plain or created intricate designs. This one is going to have an old world style with purple (my favorite color) tissue paper decoupaged over the top. I cut out these pieces from some cardboard drawing the design on some scrap paper to decide how big and what it should look like before cutting the cardboard. Then I glued them to the front of the book, eye balling whether it's centered.
Then I coated the top in mod podge and laid my first sheet of tissue paper over it pressing into the corners and not worrying about tears. I layered on a couple more pieces til I felt you couldn't see the different colors underneath.

Next I wrapped the edges around the front cover. I let this dry for awhile before moving on and doing the same to the back.
My last step was creating an interesting cover. I really liked the guy on the original dust cover so I decided to cut him out and use him. I also wanted a label for the front.
And it's done!