Monday, January 29, 2018

Beat Up Car Cake


My little brother has managed to run two cars into the ground before his 18th birthday but for his 17th birthday I mad him this cake representing the beat up second car he got from his friend. It looks a lot nicer now but it drives about as well as my cake LOL


I started with 2 layers of delicious chocolate cake these are 8in rounds but it would have been better if they were bigger. I cut them in half and decided I didn't need the 4th half when I was 'gluing' the cakes to the board. I carved out the front and back windshields.


I put a very heavy crumb coat over the whole thing, this may even be a second coat as I usually double coat my chocolate cakes because of the crumbs.
 
Then came the colored details. I put down the black for windshields first, attached my doughnut wheels next, then went in with the red coating most of the car but leaving the hood and back bumper to be done in gray. This doesn't look like the nicest car but I did it because that's what his car looked like at the time.
Then it was just little car details. I added a thick red icing spoiler to the back, some head lights for the front and back, and a little Ford logo on the front. I used a knife to make etchings in the solid buttercream to give the windows and hood more dimension.


He loved his cake and it lasted only slightly less long then the car did ^.~

Wednesday, January 17, 2018

Pegasus Cake with Meringue Wings

Unicorn cakes are all the rage right now but my mother is a fan of pegasus not unicorns so for her birthday I wanted to make a pegasus cake and I found a great reference picture that did this with meringue wings.
So to start I had to try out the meringue wings. I traced some wings on to a piece of paper and put that under some wax paper. when my meringue was ready I put it into a piping back with a leaf tip. Starting with the longest bottom feathers I worked my way up the wing feather by feather. As I pulled away from each feather it pulled up a little but this adds some dimension to the wings that I liked. I finished the tops with some rosette swirls and baked them on 275 for over an hour.


I had lots of extra meringue so I piped it out into swirls to add to my cake as part of the mane later.


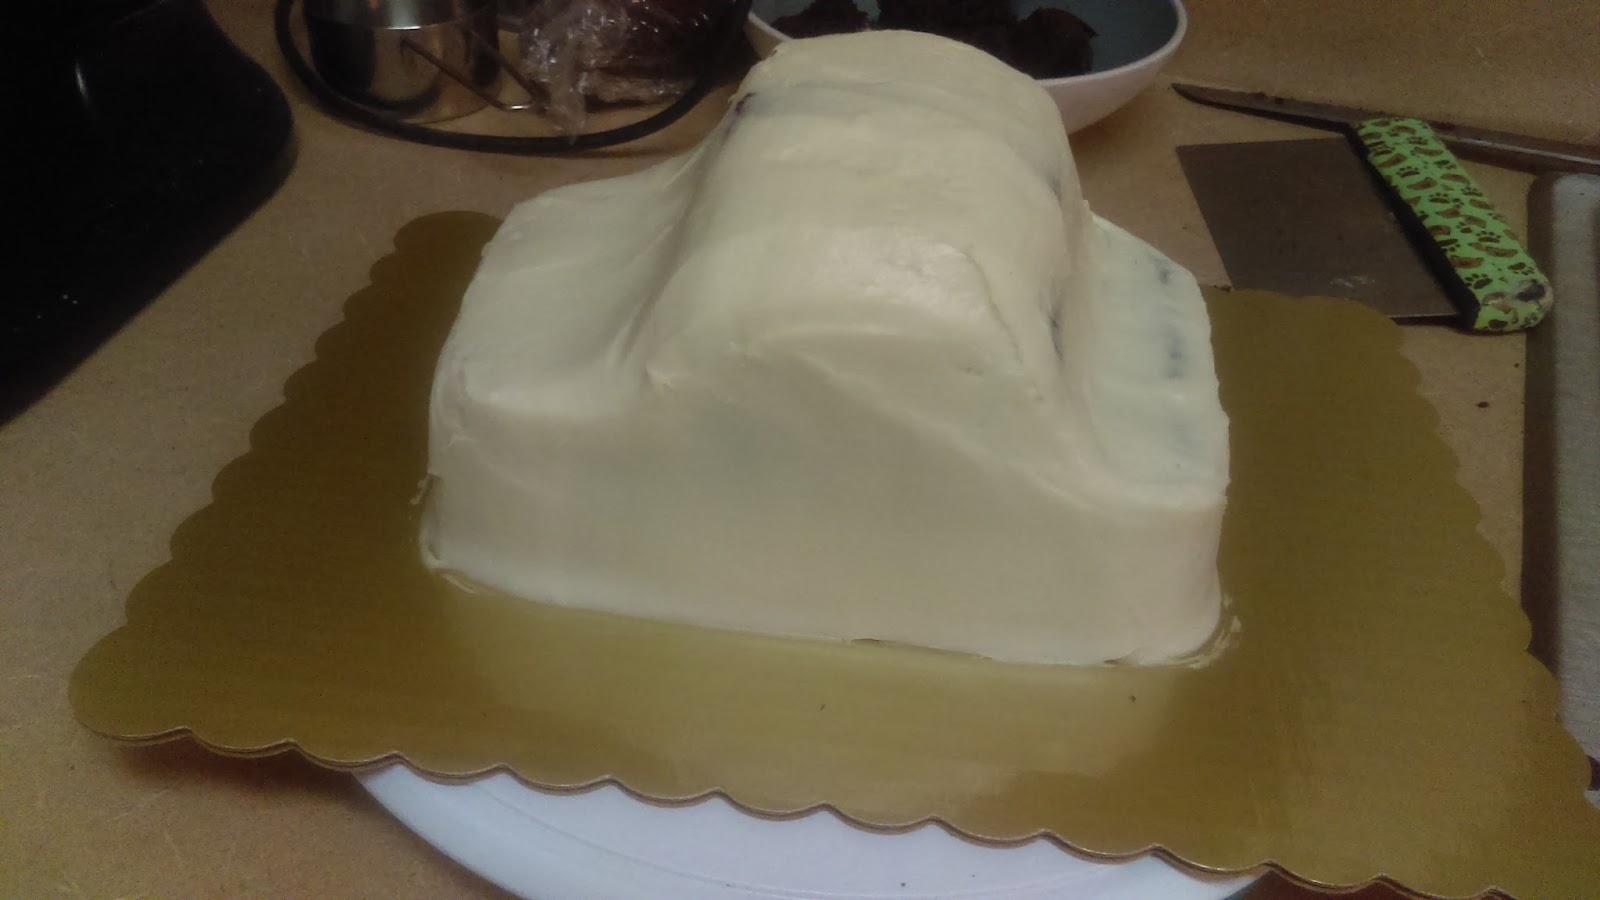
Next came the cake. My mum's favorite is angel food so I actually bought them from the store and let me say that getting them out of those containers in one piece was a challenge. I carved them down into a cylinder and filled the center with strawberries and cream. I gave the whole thing a crumb coat in a Chantilly frosting


For the final coat I used straight whipped cream for a pure white appearance.

I did a little experimenting with the ears trying to dip them after cutting (left) or cut them after the white chocolate had set just a little (right). The cutting after the coat had set was definitely a cleaner look and is now my go to but you have to make sure the white chocolate isn't too hard or it'll chip right off your strawberry when you cut it.


This is the point I got to before I ran out of green buttercream. These cakes always take more icing then I think they will for the hair and since I had no time to go out for more ingredients (and dye) I had to improvise and use my whipped cream to make more green for swirls. It wasn't near as dark and the line is very visible from the top.


My mom loved it and she didn't even notice the flaws although she did remind me that she hates whipped cream (but loves chantilly....so....yeah)

Another successful cake from last year. Wonder what I'll do for her this year....

Thursday, January 11, 2018

Wolverine Cake


Here's another cake from last year. I was commissioned to do a wolverine cake for a friend's son. After talking with the mom about the cake she wanted I came up with this sketch. He likes wolverine but being a classy kid he likes the old wolverine style so I looked up his costume to refresh my memory and came up with this bust style cake. I like this style and it's not something I see a lot of other bakers doing but with cartoon characters it's actually pretty simple.


 I started with he mask  which was made from fondant. I made a paper stencil by tracing his mask shape off a very enlarged photo on my computer. Then cut that out of some black fondant, I like to buy my fondant already colored for black as it is usually darker then I could get it on my own and a lot less work. I put this mask to dry on a cocoa powder can which I determined would be about the same size as my 4in cake I would eventually put it on. I made this a day or two in advance so it would have time to fully dry.


I baked my cakes the day before and let them cool in the freezer overnight. The day of the party I iced my cakes in yellow buttercream. I gave the top cake a little rounded dome since heads tend to be round. I put some of my other icing details on my cakes before stacking them.


Then I added my fondant details which was only the mask and belt.


Finished it up with a few more black icing details to really tie the whole thing together.


I really liked how close to my original drawing this one came out and I know the kid loved it.

Saturday, January 6, 2018

White Chocolate Birch Bark Wedding Cake


So this is a cake I worked on last year for my dear friend Beau's wedding. I always start custom cakes by sitting down with the clients and making a sketch with them. I find out what the client wants and (hopefully) represent what the final product will look like. This way I'm sure we are all on the same page. Beau and Elizabeth were having a more rustic wedding in the cold of a Colorado February and wanted a birch wedding cake.


They didn't like fondant so I offered to do the birch effect with chocolate. I practiced it a few times but the technique is pretty simple. You just melt a small amount of dark chocolate and paint different lines onto a piece of parchment. You could put this in the fridge if you don't want any smearing but I felt the mixing effect would add to the realism. Next you melt a bunch of white chocolate and drizzle it heavily over the lines. Spread the while chocolate with even spatula strokes and if you work side to side with the lines the graying effect looks really good.

These cakes were gluten free chocolate and I filled them with fresh strawberries and iced them in a chantilly frosting (which is really just fancy talk for adding whipped cream and almond extract to your cream cheese icing). I always crumb coat specialty cakes but with chocolate ones it's extra important.


It took up my WHOLE fridge! You can't see it but the top shelf was taken up by all the pans of chocolate. I really couldn't do a larger cake without a bigger kitchen.


This cake was going to Silverthorn so I thought it wise to transport in an unstacked format with zero decoration. I showed up to the event hall a couple hours before the wedding and worked in the kitchen assembling the cake. Stacking went smoothly and it didn't matter so much what the underneath cake looked like (so I forgot to get a picture). I pulled out all my chocolate pieces which I had pre-cut, I felt the strait lines of cutting made for better trees then trying to break the chocolate into right sized pieces. I went around the cake starting at the top putting chocolate piece after chocolate piece. There was a scary moment when I thought they might not make it but they did and the effect was just right. I added little buttercream pine cones but there were no extra flowers to add, the last thing was the topper which I added right before presenting.


It was a great time with great people and I was even there to cut the cake ^^